You just unboxed your first embroidery machine. Maybe it was a birthday gift, a splurge you have been saving for, or a secondhand find you refurbished yourself. It sits on your table, gleaming with potential. You have threads, you have fabric, you have designs downloaded. But now what? That machine looks more complicated than you expected. Do not panic. Every professional embroiderer started exactly where you are now. With the right guidance, you can go from staring at your home embroidery machine to stitching like a pro faster than you think.
This guide walks you through everything a beginner needs to know. We cover machine setup, hooping techniques, stabilizer selection, file formats, and your first project. No jargon, no intimidation, just practical steps to get you stitching.
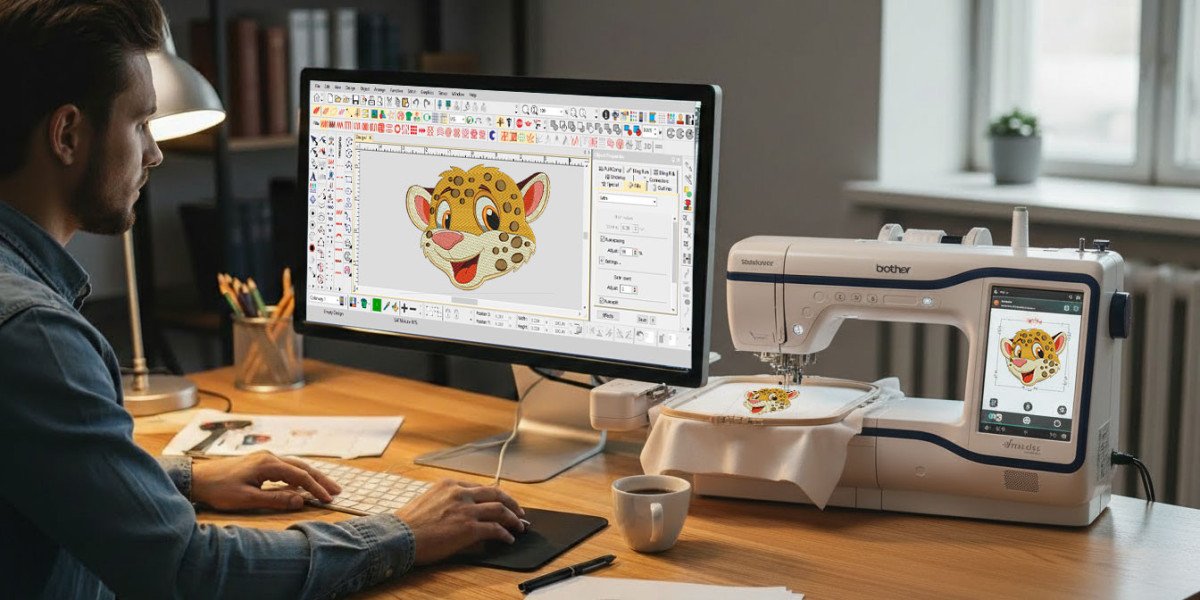
Getting to Know Your Machine
Before you stitch anything, spend some time with your machine. Read the manual. I know, reading manuals is boring. But embroidery machines have specific quirks that vary by brand. Your manual explains how to thread your particular model, how to change needles, and how to navigate the touchscreen.
Locate the basic parts you will use every time:
Needle bar where the needle attaches
Presser foot that holds fabric down
Hoop arm where your hoop attaches
Thread guides that show you the path from cone to needle
Bobbin case underneath the needle plate
Touchscreen or control panel for selecting designs
USB port for loading designs
Practice threading the machine with the presser foot up. Run the machine slowly without fabric to watch how everything moves. The more comfortable you feel with the machine itself, the easier your first projects will be.
Gathering Your Essential Supplies
You cannot embroider with just a machine. You need a few basic supplies to get started.
Needles. Embroidery needles have a special scarf and eye designed to protect delicate threads. Use 75/11 needles for most projects. Keep a supply on hand and change them every 8-10 hours of stitching. A dull needle causes skipped stitches and thread breaks.
Thread. Start with quality polyester or rayon thread from brands like Madeira, Isacord, or Robison-Anton. Cheap thread breaks more often and ruins your learning experience. Buy a starter set of basic colors.
Bobbin thread. Use lightweight bobbin thread designed for embroidery. It is finer than top thread and helps the design lie flat.
Stabilizer. This is non-negotiable. Stabilizer supports your fabric during stitching and prevents puckering. You need different types for different fabrics.
Fabric. Start with medium-weight cotton or twill. These fabrics are forgiving and easy to hoop.
Hoop. Your machine came with at least one hoop. Practice hooping scrap fabric until it feels natural.
Scissors. Small, sharp embroidery scissors for trimming jump threads.
Seam ripper. For those inevitable moments when you need to remove stitches.
Understanding Stabilizers
Stabilizer confuses many beginners, but it is simple once you understand the basics. Stabilizer supports your fabric during stitching and stays there or comes off afterward depending on the type.
Cutaway stabilizer stays permanently attached to the fabric. You cut away the excess after stitching. Use this for knits, stretchy fabrics, and dense designs. It prevents distortion over time.
Tearaway stabilizer removes cleanly after stitching. You tear away the excess, leaving only the embroidery. Use this for stable woven fabrics like cotton and twill.
Washaway stabilizer dissolves in water. Use this for freestanding lace, fabrics where you want no stabilizer showing, or delicate materials that cannot handle tearing.
Fusible stabilizer irons onto your fabric. This helps with hard-to-hoop items and adds extra stability.
For your first projects, use medium-weight cutaway stabilizer for knits and medium-weight tearaway for wovens. You cannot go wrong with these choices.
The Art of Hooping
Proper hooping is the foundation of good embroidery. A poorly hooped design shifts during stitching, causing misalignment and puckering.
Here is how to hoop like a pro:
Step 1: Separate the inner and outer rings of your hoop.
Step 2: Place the outer ring on a flat surface with the screw loosened.
Step 3: Lay your stabilizer over the outer ring, then place your fabric on top. Both should be smooth and wrinkle-free.
Step 4: Press the inner ring into the outer ring firmly. The fabric and stabilizer should be drum-tight, like a trampoline. There should be no wrinkles or sagging.
Step 5: Tighten the screw. Check the tension by pressing gently on the fabric. It should feel firm and springy.
Step 6: Check the grain. The fabric should run straight, not twisted.
Practice hooping scrap fabric until you can do it consistently. Good hooping prevents more problems than any other skill.
Understanding Embroidery File Formats
Your machine needs specific file formats to stitch. This confuses many beginners, but it is simple once you know what your machine wants.
Brother and Babylock use PES format.
Janome and Elna use JEF format.
Pfaff and Husqvarna Viking use VP3 format for modern machines, PCS for older models.
Bernina uses EXP format with companion INF and BMP files.
Commercial machines use DST format.
When you buy designs online, choose your machine's format. Most design sites offer multiple format options. If you have a design in the wrong format, you can convert it using software like Wilcom TrueSizer (free online) or Embrilliance.
For your first projects, buy designs already in your machine's format. This removes one variable while you learn.
Your First Project: Keep It Simple
Do not start with a complex logo or a detailed portrait. Start with something simple that builds confidence.
A great first project is a monogram on a towel or a small decorative design on a kitchen towel. Choose a design with one or two colors and simple shapes.
Step 1: Hoop your fabric with appropriate stabilizer. For a kitchen towel, use cutaway stabilizer because towels have texture and stretch.
Step 2: Load the design onto a USB drive and insert it into your machine.
Step 3: Select the design on your touchscreen. Position it where you want it to stitch.
Step 4: Thread the machine with your chosen colors. Follow the thread path carefully. Missed thread guides cause tension problems.
Step 5: Run a test stitch at slow speed. Watch the first few minutes closely. Listen for unusual sounds. Watch for thread breaks.
Step 6: When the design finishes, remove the hoop and trim any jump threads.
Step 7: Remove the stabilizer. For cutaway, trim close to the stitching. For tearaway, gently tear away the excess.
Step 8: Inspect your work. Celebrate your first completed project.
Common Beginner Problems and Solutions
Every beginner runs into issues. Here is how to handle the most common ones.
Thread breaks. This happens frequently for beginners. Check that you threaded correctly with the presser foot up. Make sure your needle is not dull or bent. Try slowing down the machine speed. Check that your tension is not too tight.
Skipped stitches. A dull needle causes this most often. Change your needle. Also check that your thread is not old or brittle.
Design misaligned or off-center. You may have moved the hoop after positioning, or the fabric shifted during stitching. Practice hooping tighter and avoid bumping the machine while it runs.
Fabric puckering. Your stabilizer may be too light for the fabric, or your density may be too high. Try heavier stabilizer or reduce design density.
Bobbin thread showing on top. Your top tension is too tight or your bobbin tension too loose. Adjust top tension slightly looser.
Machine not reading USB. Format your drive as FAT32, not NTFS. Keep file names short with no special characters.
Building Your Skills Over Time
Once you complete your first project, keep building. Try different fabrics. Experiment with different stabilizers. Stitch designs with more colors.
Learn to change needles regularly. A fresh needle prevents countless problems.
Start a notebook of settings that work for different fabrics. Write down which stabilizer, which needle, and which tension worked for cotton, for fleece, for towels.
Join online embroidery communities. Facebook groups and forums are full of experienced embroiderers who love helping beginners. Ask questions, share your successes, learn from others.
When to Upgrade Your Tools
As you gain experience, you may want to invest in better tools.
Software like Hatch or Embrilliance lets you edit and create your own designs.
Magnetic hoops make hooping easier and more consistent.
Thread racks keep your threads organized and tangle-free.
Good lighting helps you see details and catch problems early.
But do not rush to buy everything. Start with the basics and add tools as you need them.
Conclusion
Starting with a home embroidery machine feels overwhelming at first. There are so many variables, so many things that can go wrong. But every professional started exactly where you are. They learned through practice, through mistakes, through asking questions.
Master the basics first. Learn to hoop properly. Understand stabilizers. Practice with simple designs. Build confidence with every project.
Your machine is capable of beautiful work. Give yourself grace to learn, celebrate small victories, and keep stitching. Before you know it, you will be the one helping other beginners figure out their first projects.